Beginning Guide to Bezel Setting
So you’ve decided to start setting stones! This will be a blast but it also will call upon your patience and delicate touch. If you are just starting out making jewelry or are a seasoned pro with a jeweler’s saw, think of stone setting as a special set of skills to master.
What is Bezel Setting?
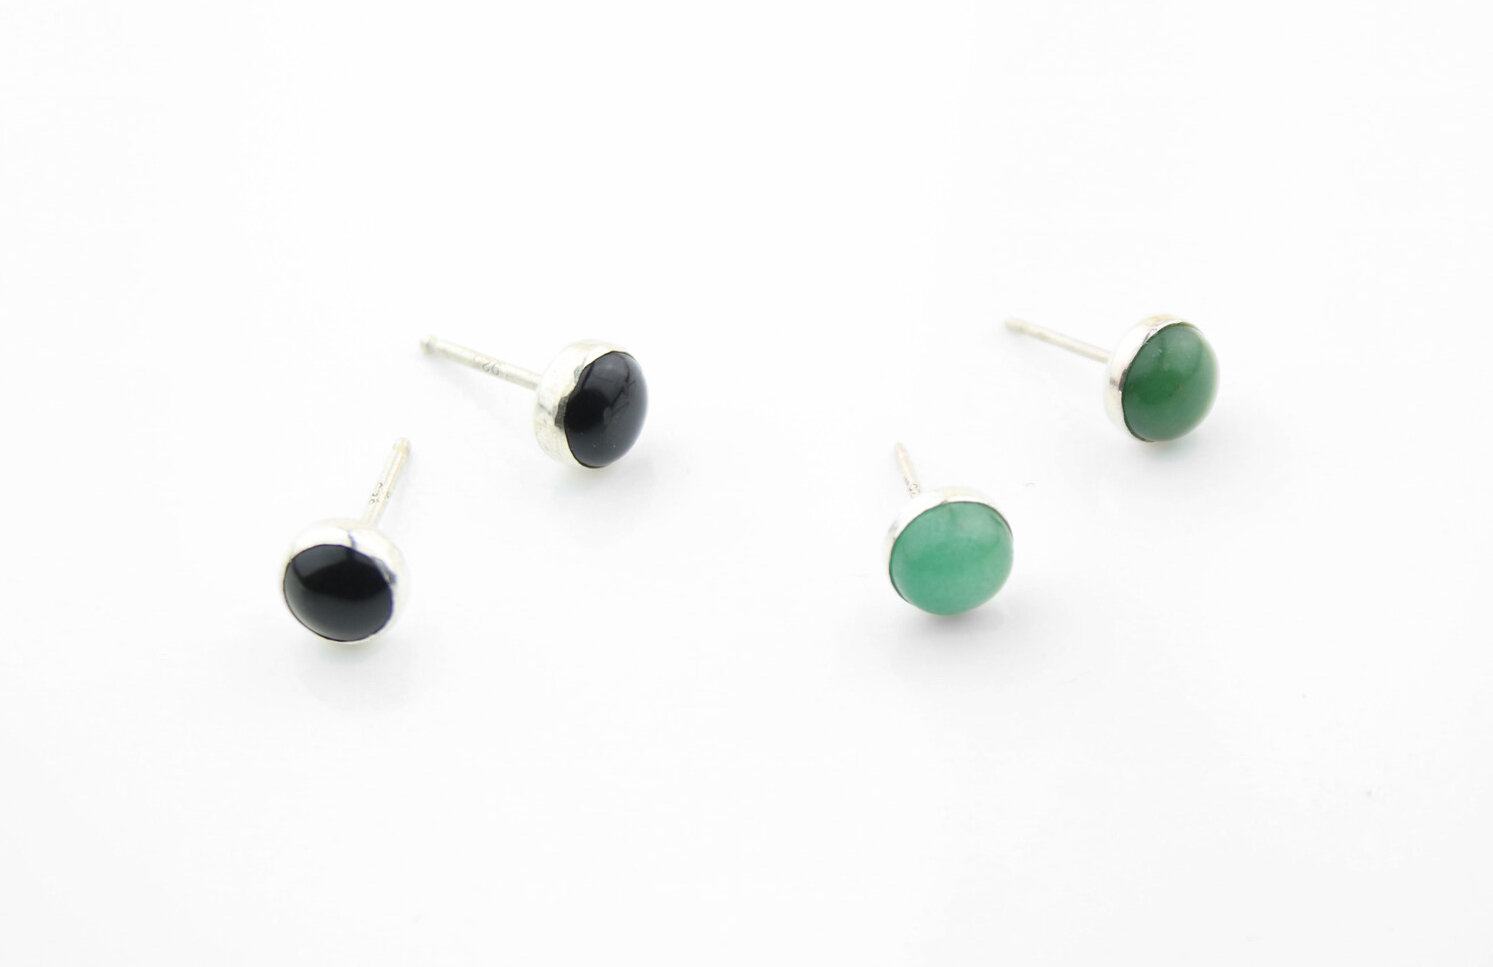
Bezel settings are the ultimate protective setting for any stone. The bezel is the strip of metal that literally hugs the stone at its widest edge. It can be constructed from nearly any metal and made in a wide variety of thicknesses to suit a design. It is the lowest profile setting for the main stone and it’s the queen of understated cool. Nerdy Fun Fact: The word bezel comes from the old French word biseau. This translates to English as beveled edge.
The Basics
A basic bezel setting is easy to fabricate for rounded cabochon stones. It takes practice to get them perfect. The tried and true material for a bezel is fine silver. Fine silver or .999 Silver is the pure stuff and not an alloy. It is brighter colored and softer than Sterling because it has no copper added. Purchase fine silver strip (it is often listed as bezel wire or bezel strip) from a jewelry metal supplier.
Selecting the right width is crucial! The bezel strip width corresponds to the height of the stone. It must be enough to encapsulate the stone so it doesn’t fall out. The bezel will hug the sides of your cab and needs to be just tall enough to fold over the edge. For low dome and high dome cabs alike, bezels typically fall around 1/3 of the stone’s overall height.
Measure + Cut + Close
1. Wrap your bezel wire firmly around the base of your cab. It should be extra snug. Use a thin permanent marker to mark the spot where the bezel overlaps itself.
2. Trim the bezel wire using a jeweler’s saw or precise flush cutters at the marked line. This needs to be very straight and perpendicular to the edge. If needed, lightly file down any unevenness on the edge.
3. Line up the ends of your bezel so they meet without any gaps and create a loop. You are readying the bezel for soldering or fusing so the overall shape can be a little wonky as long as the seam is perfect.
4. Close the bezel by soldering the seam with hard silver solder or by fusing the fine silver bezel to itself. Both soldering and fusing are good procedures for making a bezel, but if you haven’t tried fusing fine silver before make sure you have extra material to compensate for a few melted attempts :)
Create a Backplate
The backplate for a bezel setting is where you can be really creative. Saw a fun shape, add surface texture, solder on additional elements alongside the bezel, pierce out negative shapes from the sheet metal, or even consider using a contrasting metal like copper or brass to accent the stone’s color. Once you know how to construct a basic bezel the design opportunities are endless!
If you are ready to start setting stones or want some extra guidance, check out the class calendar below or book private instruction in the shop. Happy Setting!


